Featured
All Stories
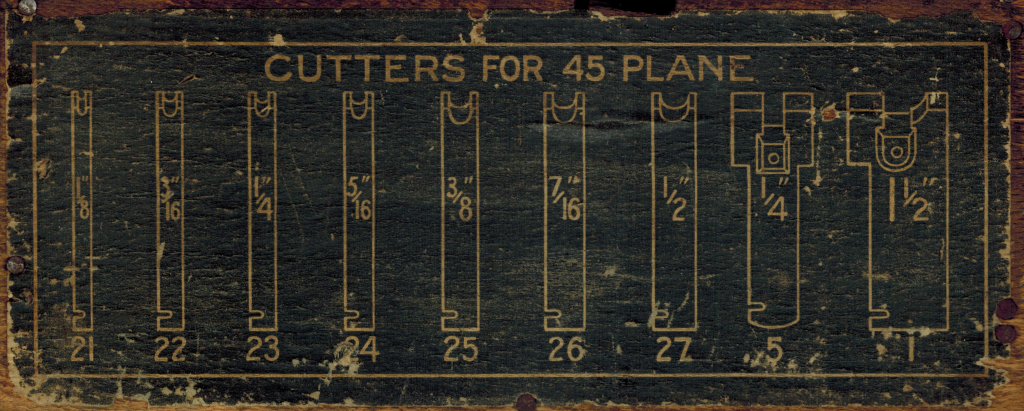
Stanley No. 45 Cutters Box Labels
I recently acquired some cutters, or irons, for the Stanley No. 45 combination plane. Fortunately, the labels on the box were still present and readable. The set actually came in...
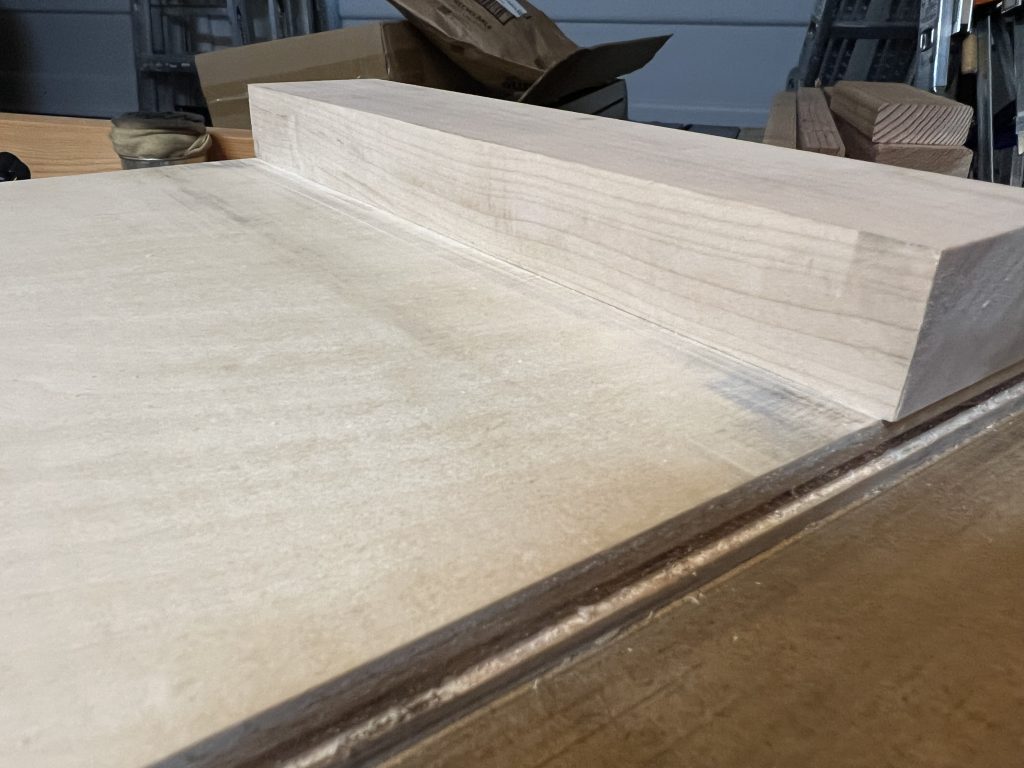
Shooting Board - Making and Tuning (Fixing)
After building a workbench and restoring vintage hand tools, a shooting board was the next thing to build. After scouring YouTube, I settled on the Rob Cosman version. He makes...
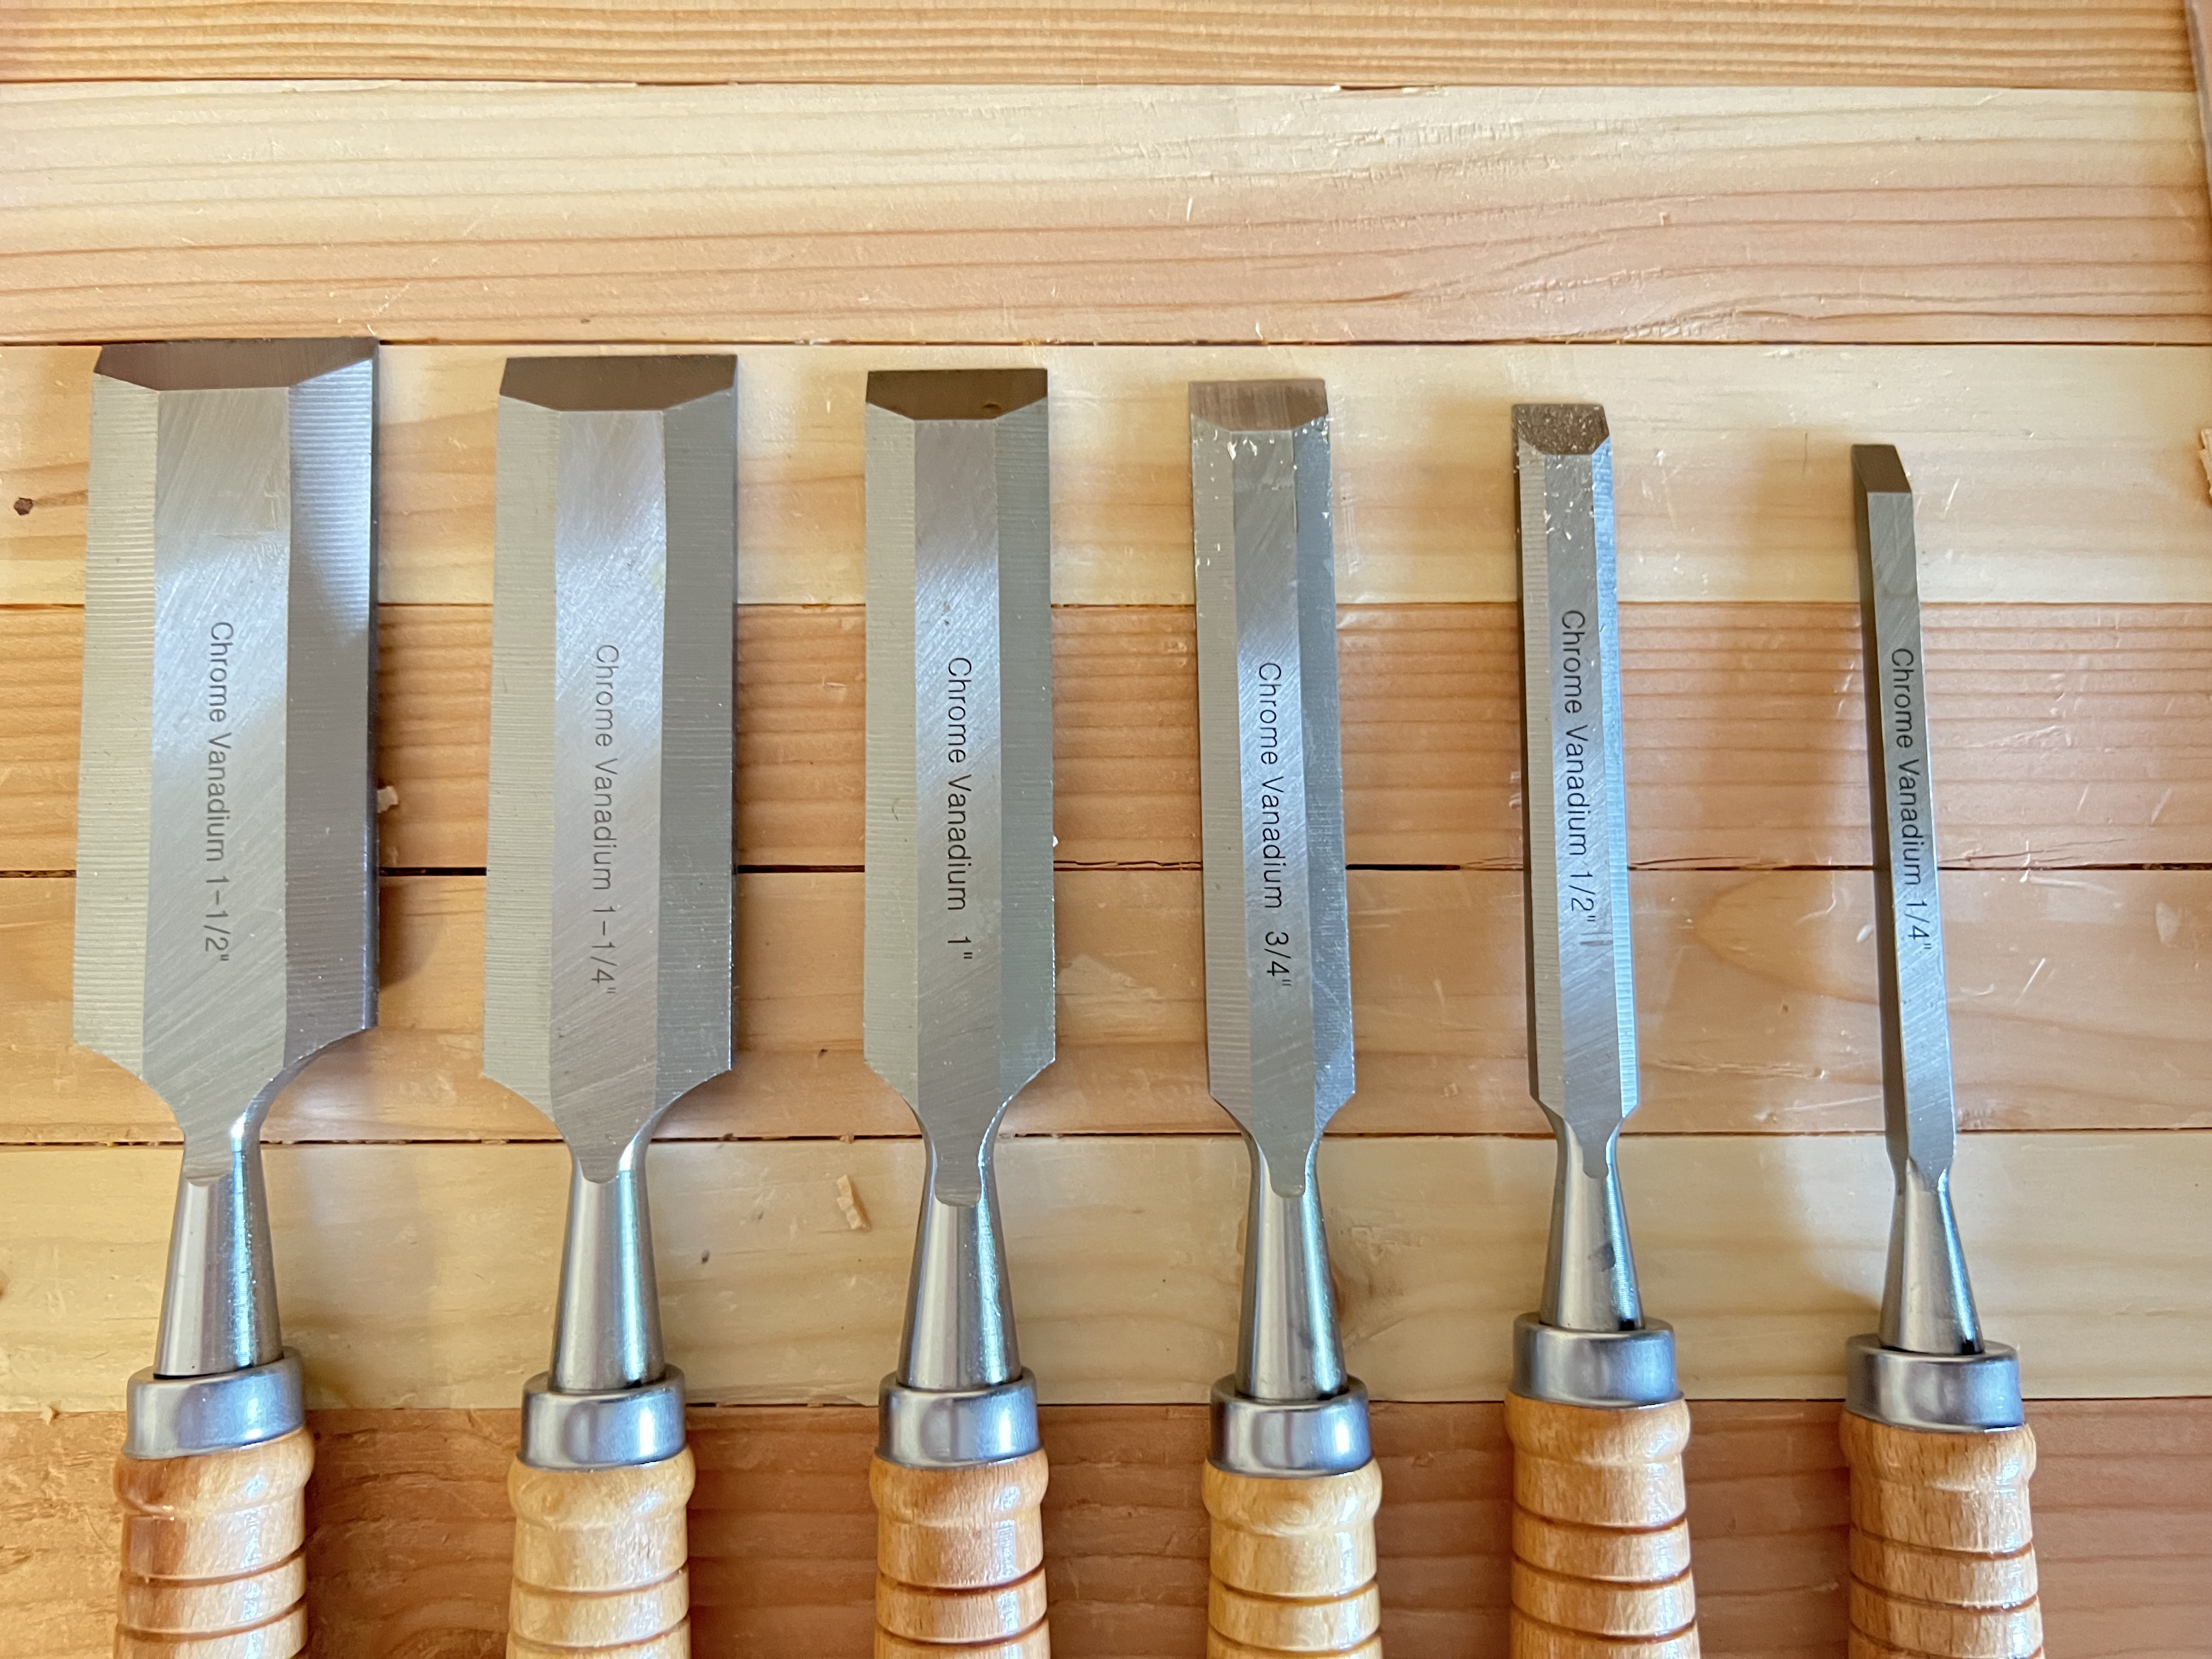
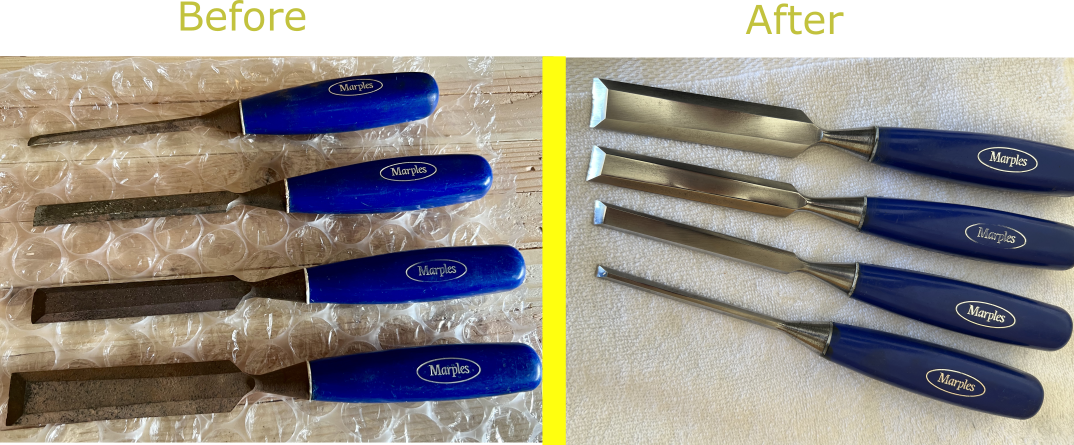
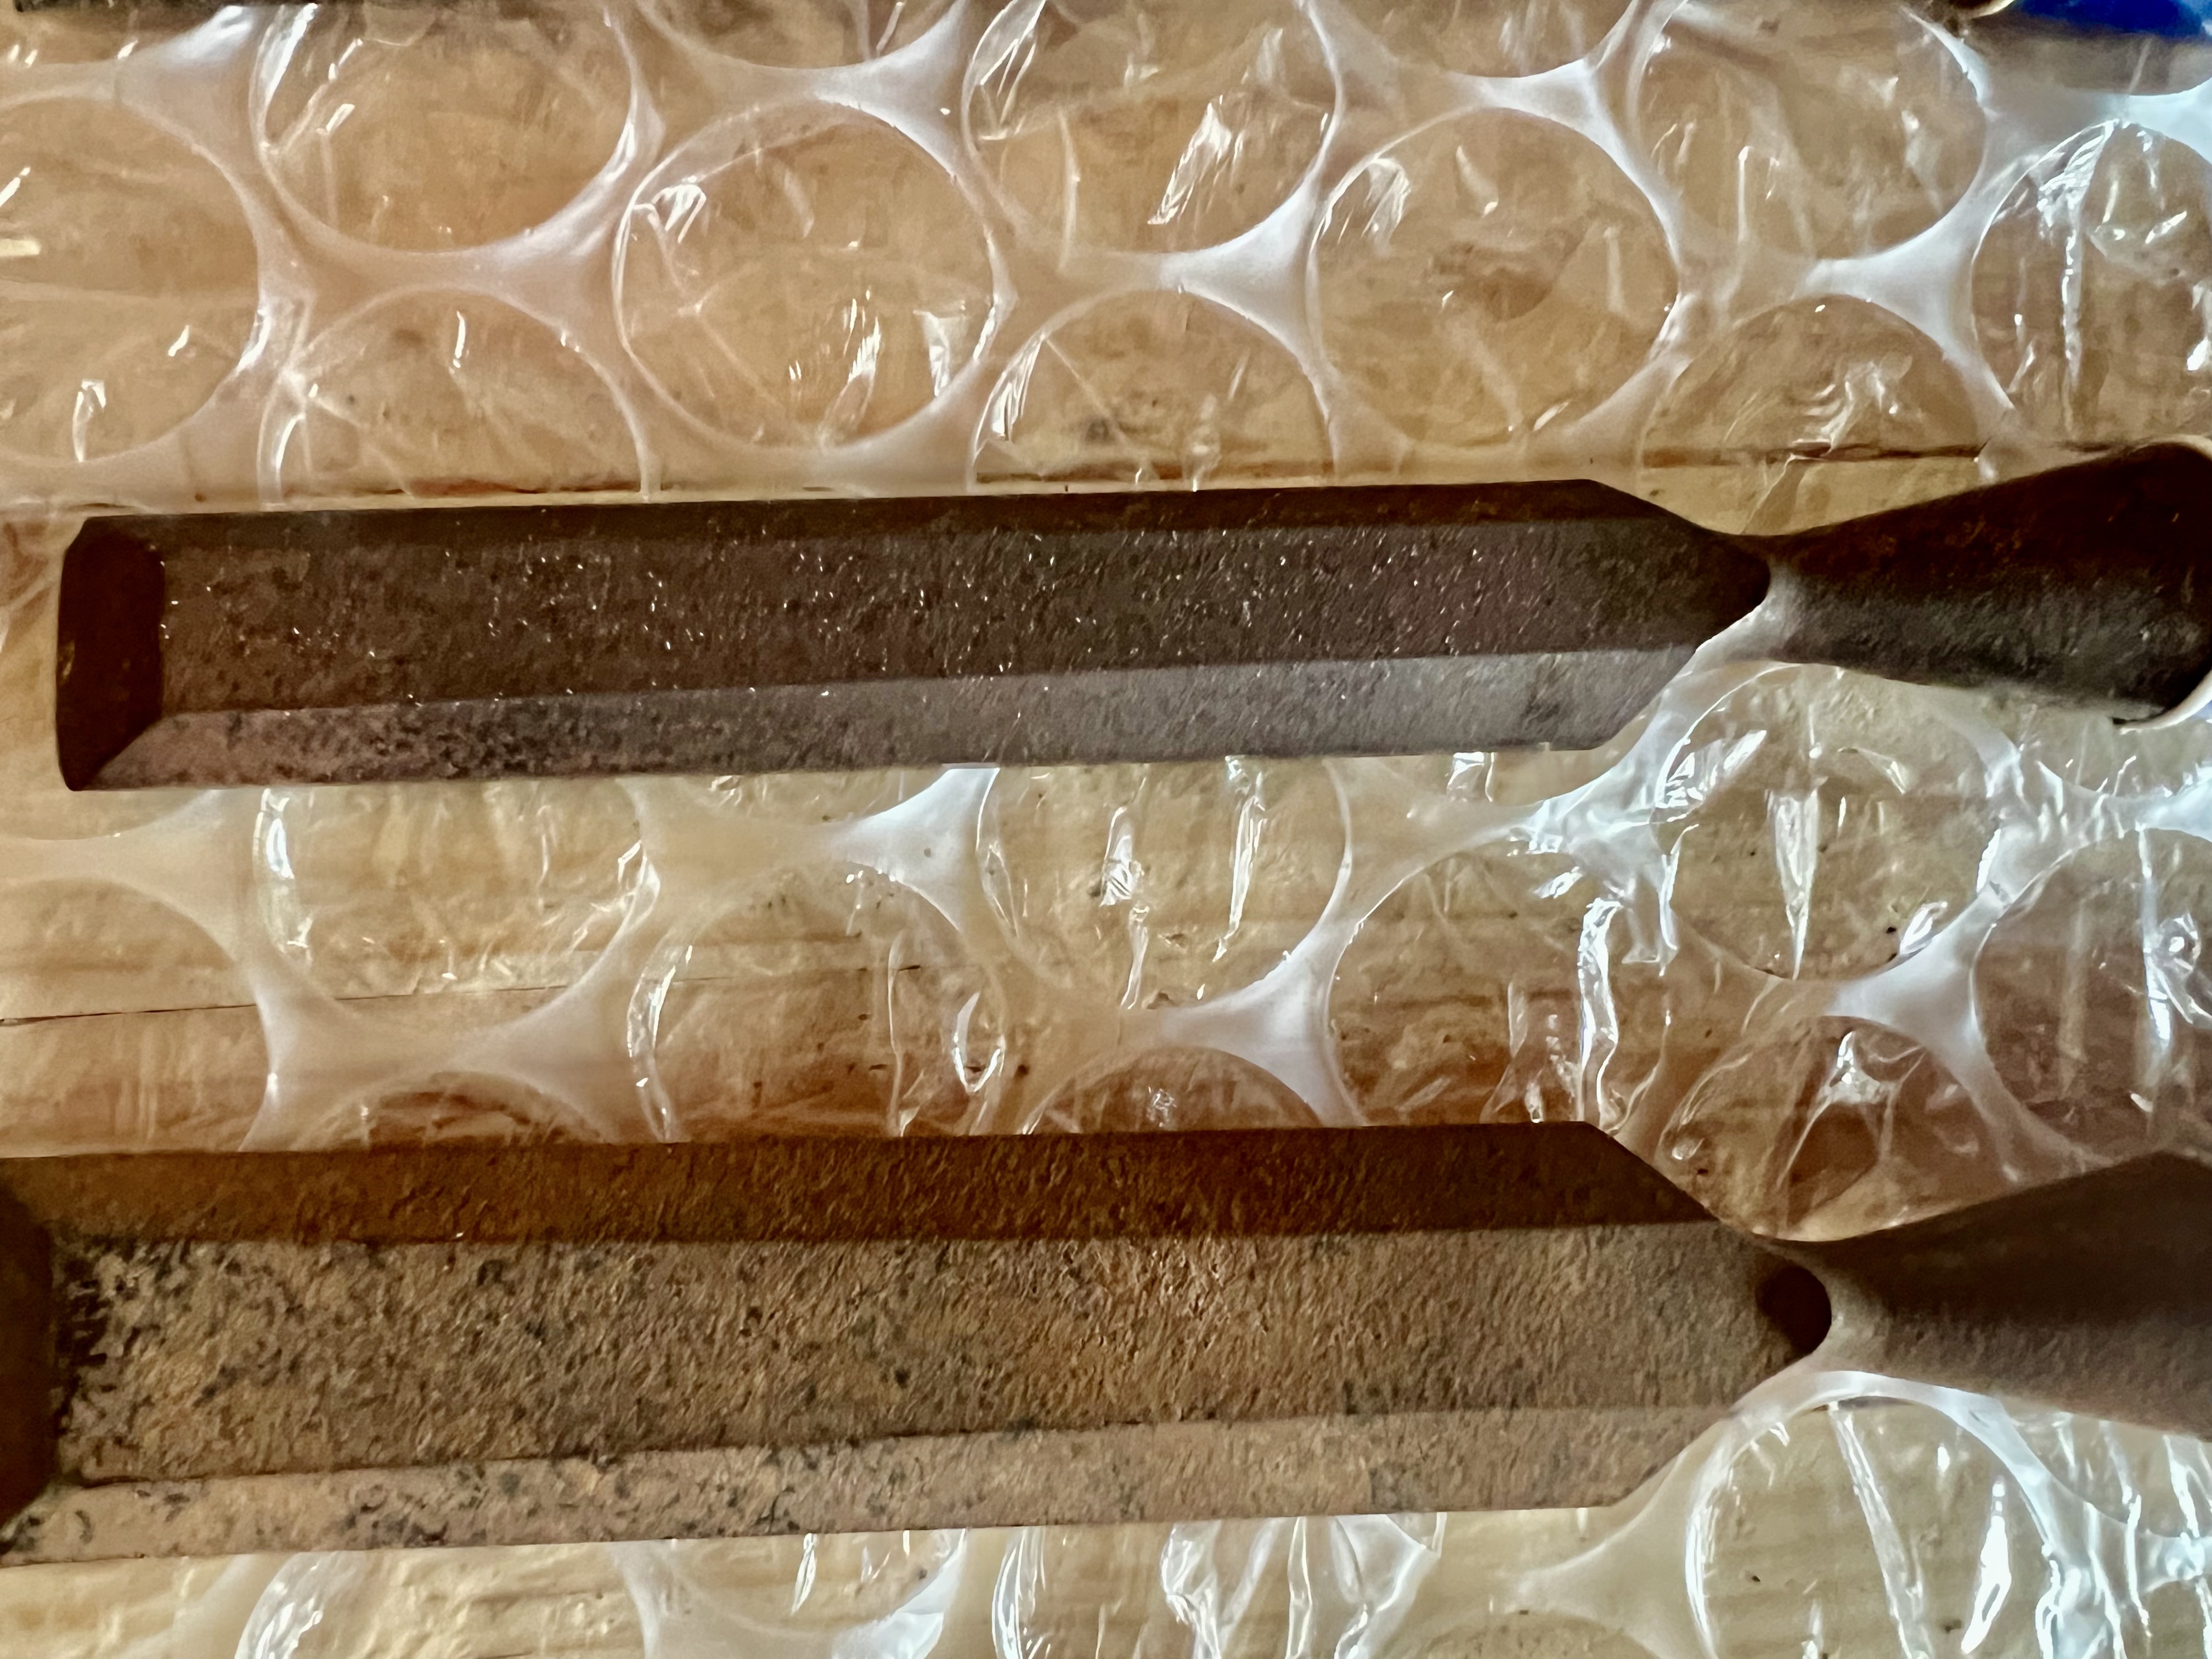
Harbor Freight Chisels – Windsor Design Chisels
I am a self-reported amateur, part-time, garage workshop, woodworker. I was primarily power tools before getting the hand tool bug and am now a novice amateur part-time garage workshop hand...